To get started with a Laser Shark VPS, you'll need to generate SSH keys. If you're on Windows, this isn't built in to your operating system, so you'll need to download a program to do it for you. Luckily, there's a free program called PuTTY which does the job.
First things first, you'll need an SSH key before you can buy a server through Laser Shark. PuTTY has a tool called PuTTYgen for this exact purpose. To generate an SSH key, all you'll need to do is:
- Download PuTTY from the download page. There's an option called "A Windows installer for everything except PuTTYtel", which is the best way to get started with PuTTY on Windows.

Install this program on your system. You can accept all the defaults during the installer, but you can change the values too if you'd like. - Fire up PuTTYgen—it will have installed itself into your Start menu.
- Set your key generation options. If you've no idea what to select here, the default is to generate an
SSH-2 RSAkey of 2048 bits, which is fine for most cases. You can configure those settings at the bottom of the PuTTYgen window.
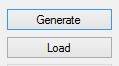
Click the Generate button above this section on the right hand side.
For security reasons, SSH keys are always generated using a bit of random data. So, to generate this random data, you'll need to carry out the highly scientific process of wiggling your mouse around in the PuTTYgen window.
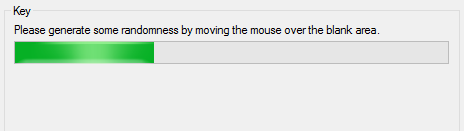
As you do this, you should see the progress bar move along while it generates your secure key.Once your key has been generated, the public key part will be shown on screen.
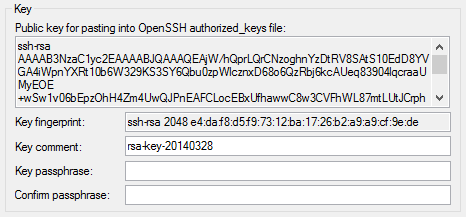
Before you do anything else, make sure you save your generated keys. You'll need to save both the public and private keys—and make sure you label which is which!
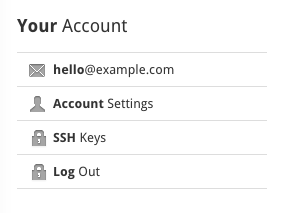
Then, copy all the text from the box that says "Public key for pasting into OpenSSH authorized_keys file".Log in to your Laser Shark control panel and click SSH keys in the menu on the right.
At the bottom of the page, there's a form to add a new SSH key. Paste your new public key into the big box, and give it a descriptive name in the little box.
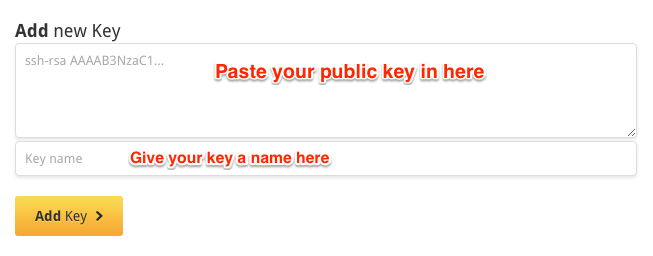
It's a good idea to name your key after your computer—if your computer has a name—because it's good practice to use different keys for different machines. Click Add Key when you're done.
Note: Never share your private key with anyone! It's like a password. We will never ask for it. Don't upload it anywhere, and make sure you keep it safe.Now you can set up a server and your SSH key will be installed automatically. That means you'll be able to log in without setting up a password, which is not only easier but also more secure.